
| For this tutorial, I am using a fairly simple humanoid figure (walk_model.aoi) created by starting with a cube (for the head), converting to a triangle mesh with approximating smoothing and performing lots of extrusions to form the body, arms, legs etc. |  |
|
The skeleton for the model is very important. It needs to be flexible enough to allow the model to
be easily posed. The skeleton I have set up for this model is shown on the right. For the walk cycle,
there needs to be the ability to rotate around the hips, knees, ankles and toes and the shoulders and elbows. The perspective view on the right shows the set up for the feet; there are 2 bones in each foot to allow the 'toes' to bend separately from the rest of the foot - this is very important as we shall see later. For this example, I have also set up the bone rotations to allow rotations only in the forward plane of the limbs; i.e. legs cannot rotate outwards. This is not true to life of course but, for this simple example, it will allow posing the character to be far easier. Bone rotations are controlled through the Skeleton -> Edit Bone menu command in the mesh editor - see the manual or the mesh tutorial for details. |
 |
|
Now for the walk motions. Create 2 new position tracks by selecting Animation -> Add Track to
Selected Objects -> Position twice. The new tracks will be placed on top of the initial position
track which means they will be applied after that one, which is what we want. Double-click on one of the
new tracks to display the options dialogue, set the Track Name to 'Up Position' or something
similar, Smoothing Method to Linear, and the Track Mode to Relative. Also set Track Affects to Y only since this track is only going to control motion in the y-axis. Repeat this with the other track except name it 'Forward Position' and set the Track Affects to the relevant axis. In this tutorial, my character is walking in the x-direction. |
 |
 |
Enter 0.96 for the X entry. The Y and Z entries do not matter as we have set this track to affect the x
direction only. Don't worry too much about the smoothness settings at the bottom. We have set a linear smoothing method and so these values have no effect. You may want to play around with using interpolating or approximating smoothing methods together with these smoothness values after this tutorial. |
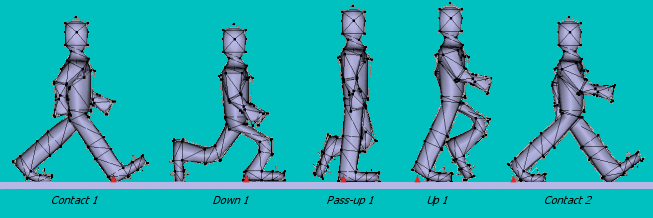

| Now, one of the most important and difficult things when doing a walk cycle is to to avoid the feet slipping along the floor as the character moves. One way of helping to avoid this is to place another object as a marker. I use a simple triangle polygon. Create one using the polygon tool and drag it so that it is lined up with the heel of the right foot as shown on the right (I have artificically enhanced this so that it shows up more clearly). This is the pivoting foot and so it's forward position shouldn't change. |  |
 |
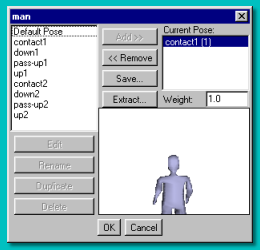
Enter the values shown on the left to copy the movement to the second step. |

| This is the revised Up Position track I ended up with to stop the feet sinking into the ground: | 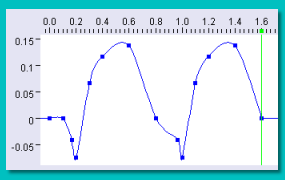 |

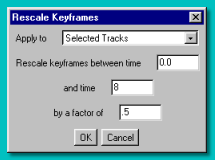 |
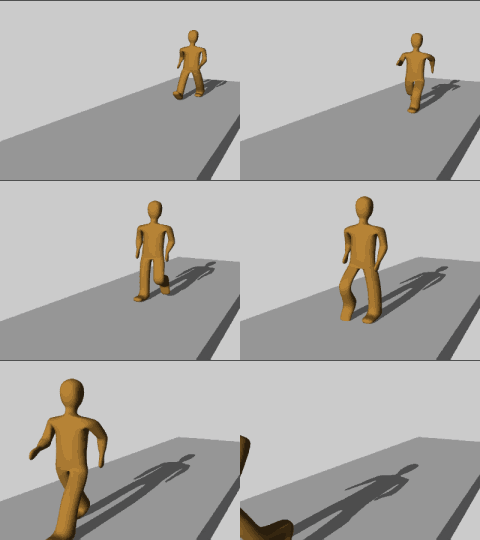
The settings shown on the left, for example, will make the character walk twice as fast. |